590nm
Goldie
Warm, painterly, closest to a normal photograph.
- Foliage
- Gold / peach
- Sky
- Deep teal
Portraits with foliage, autumn scenes, editorial color work.

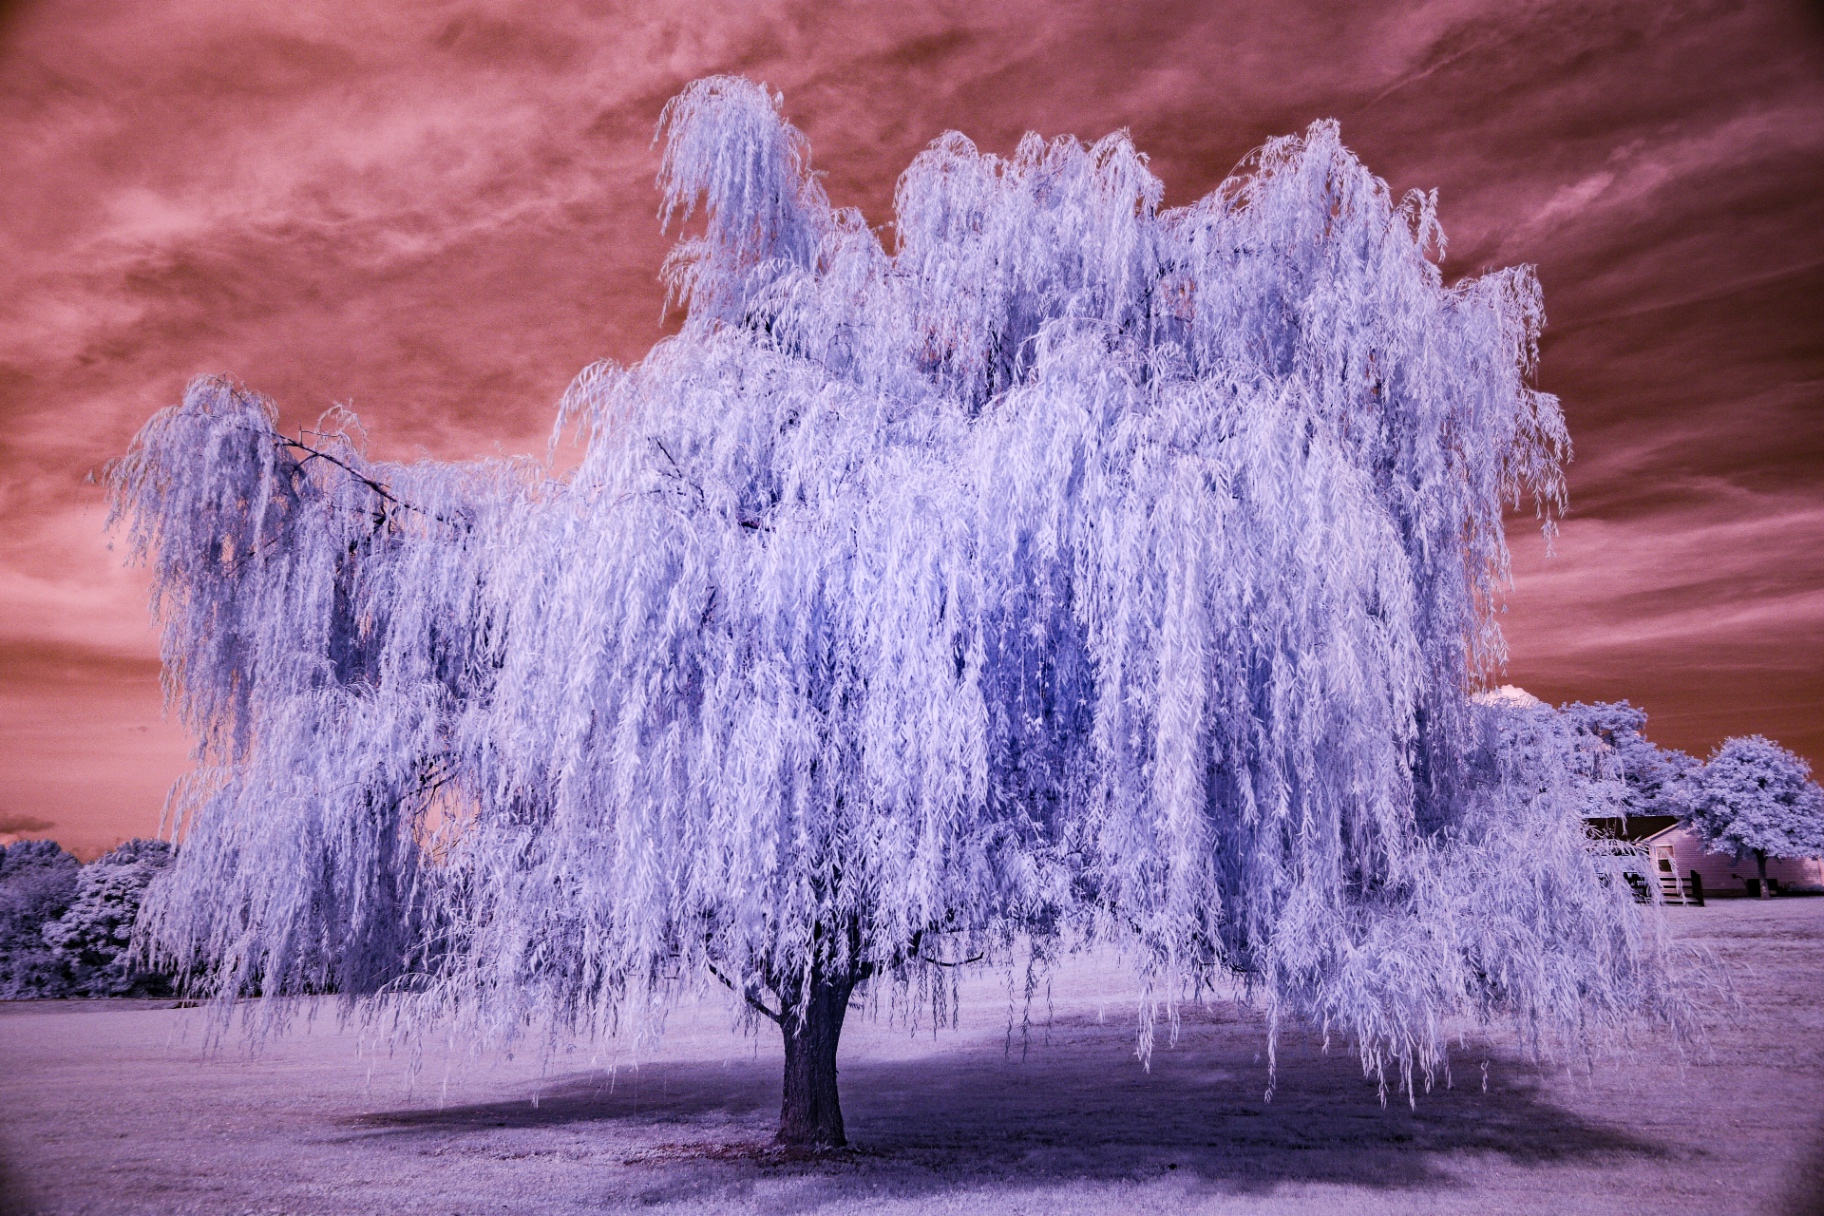
Camera Conversions
What actually happens inside the body, how to pick a wavelength, whether to convert a DSLR or a mirrorless — and when a full-spectrum conversion with clip-in filters beats them both.
The short version
Every digital camera has a filter glued in front of the sensor to block near-infrared light. A conversion removes it. In its place, a shop installs a new filter tuned to a wavelength you choose — or clear glass, if you want the whole spectrum. Autofocus is recalibrated for the new light and white balance is set against a neutral IR reference. The camera is now dedicated to seeing what your eyes can’t.
It’s permanent. It’s not a filter effect. And it’s the single change that opens infrared as a daily practice instead of a novelty.
Choosing a wavelength
The number is the cut-on: light shorter than it is blocked, light longer passes through. Lower numbers let in more of the visible spectrum (especially red) and give you more color to work with. Higher numbers give you cleaner, more classic black-and-white infrared.
590nm
Goldie
Warm, painterly, closest to a normal photograph.
Portraits with foliage, autumn scenes, editorial color work.
665nm
Extra color
Balanced false-color — white trees, blue skies, pink accents.
All-round landscape and travel. What this site is shot on.
720nm
Standard IR
High contrast, mostly monochromatic out of camera.
Classic IR and easy conversion to fine-art B&W.
850nm
Deep IR
Pure infrared. No color information — this is a B&W tool.
Dramatic monochrome landscapes and long-exposure water.
| Wavelength | Foliage | Sky | Color left to work with | Best for |
|---|---|---|---|---|
| 590nm — Goldie | Gold / peach | Deep teal | Most — a full channel swap works | Portraits with foliage, autumn scenes, editorial color work. |
| 665nm — Extra color | White with pink | Blue | Plenty — the balanced choice for false color | All-round landscape and travel. What this site is shot on. |
| 720nm — Standard IR | Bright white | Near-black | Very little; effectively monochrome | Classic IR and easy conversion to fine-art B&W. |
| 850nm — Deep IR | Glowing white | Black | None | Dramatic monochrome landscapes and long-exposure water. |
590nm — Goldie
665nm — Extra color
720nm — Standard IR
850nm — Deep IR
Descriptions reflect how these wavelengths render in my own frames; exact color depends on the body, the light and your processing.
Links to Kolari Vision are affiliate links: if you buy through them the site earns a commission at no extra cost to you. They are the shop my own conversions and filters came from, and the recommendation would be the same without the program — full disclosure.
Bodies
Both convert well. Image quality is essentially identical behind the same filter. What differs is the shooting experience — and in infrared, that difference matters.
The traditional workhorse.
What-you-see-is-what-you-get.
If you’re starting from zero, buy a used mirrorless body and convert it. The live IR preview makes the whole practice legible.
Full spectrum
A full-spectrum conversion replaces the hot mirror with clear glass, so the sensor sees UV, the entire visible spectrum, and the whole near-infrared range. The filter you put in front of it — or clip into it — decides which slice you record for that shot.
Option A
Threaded glass on the front of each lens (Hoya R72, B+W 093, Kolari IR Chrome). Works on any body — including DSLRs — but you must compose before mounting the filter, and buying every diameter gets expensive fast.
Option B
A thin square of glass that snaps into the body between mount and sensor. One filter works across every lens; swap wavelengths in seconds; the EVF stays IR-accurate. Body-specific (Sony E, Canon RF, Nikon Z, Fuji X) and mirrorless only.
Brands: Kolari · STC · Haida
| Approach | Wavelengths available | Workflow | Extra kit needed | Best for |
|---|---|---|---|---|
| Dedicated conversion (e.g. 665nm or 720nm) | One, fixed at conversion time | Pick up and shoot — nothing to add in front of the lens | None | One clear look, lowest total cost, DSLR or mirrorless |
| Full spectrum + clip-in filters | Any, chosen per shot | Swap a filter inside the body in seconds; one filter covers every lens | A clip-in filter per wavelength; mount-specific | Mirrorless shooters who want every look from one body |
| Full spectrum + screw-on lens filters | Any, chosen per shot | Unscrew, compose, re-mount for each frame | A filter per lens diameter (or step-up rings) | Anyone, including DSLR users, who already owns filter threads |
Dedicated conversion (e.g. 665nm or 720nm)
Full spectrum + clip-in filters
Full spectrum + screw-on lens filters
A full-spectrum mirrorless body with a set of clip-in filters is the closest thing infrared has to a Swiss-army knife.
Ready to convert?
My converted bodies and the filters in front of them came from Kolari Vision, and that is the shop I point people to. They convert to each of the wavelengths above, recalibrate autofocus at conversion time, and publish a public lens hotspot database that is useful even if you never buy from them.
That is my editorial recommendation based on using their work, not a claim about the whole market — I have not tested competing conversion services, and my methodology page spells out what I do and do not verify. Check current pricing and turnaround on their site; I do not quote prices here because they change.
Links to Kolari Vision are affiliate links: if you buy through them the site earns a commission at no extra cost to you. They are the shop my own conversions and filters came from, and the recommendation would be the same without the program — full disclosure.
Which camera should I convert?
Mirrorless vs DSLR, full spectrum vs fixed, and notes on the bodies behind this archive.
590nm vs 665nm vs 720nm vs 850nm
The wavelength decision in detail — the one people most often regret.
Infrared lens hotspots
Test your lenses before you spend money on a conversion.
Infrared white balance & processing
What to do with the files once the converted body arrives.
Infrared lens filters compared
590nm, 665nm, 720nm, 850nm and IRChrome — with exposure costs.
Full spectrum camera conversion
Every wavelength in one body, chosen at the filter ring.
Keep reading