
Infrared white balance and post-processing.
The short answer
This is the workflow behind the frames in the archive. It is deliberately software-agnostic in the parts that matter — the concepts apply whether you use Lightroom, Camera Raw, Capture One or RawTherapee.
Step 1 — custom white balance, in camera
Point the camera at green grass or foliage in full sun, filling the frame, and set a custom or preset manual white balance from it. Do this at the location, in the light you are about to shoot in. It costs thirty seconds and it is the single biggest quality-of-life improvement in infrared work: your rear-screen preview stops being a red rectangle, and the raw file carries a white balance close to where you need it.
Shoot raw. A JPEG bakes in a white balance the processing pipeline then cannot escape.
Step 2 — getting the raw file to open neutrally
Adobe products clamp the temperature slider at 2000K, which is often not cool enough to neutralize an infrared file even when the camera managed it. Two standard ways around this:
- A custom DNG camera profile built for your converted body, which shifts the reference point so the slider range lands in a useful place. Conversion services publish profiles for common bodies and wavelengths.
- A raw converter without the clamp — RawTherapee and darktable will happily go below 2000K.
Step 3 — the red–blue channel swap
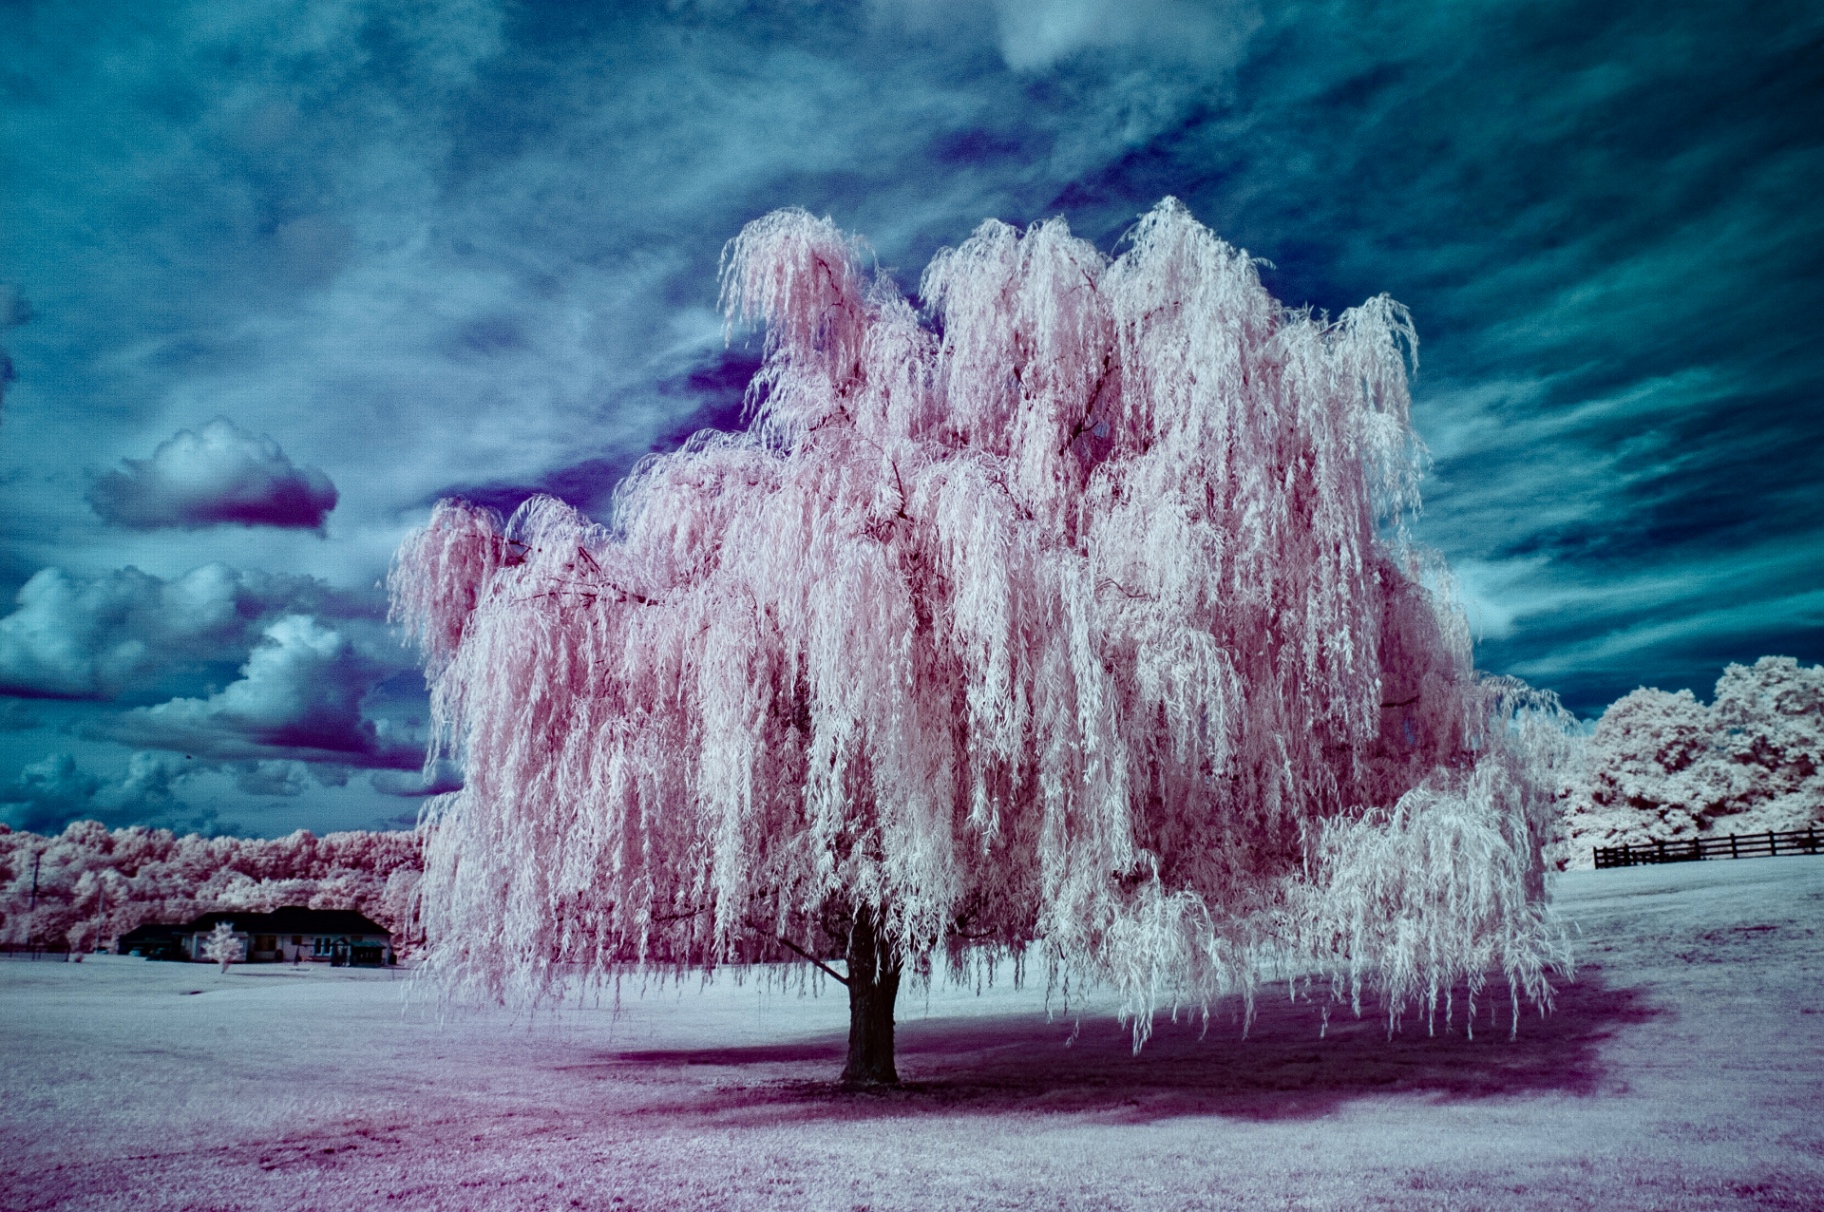
With a neutral starting point, a 590nm or 665nm file has foliage information sitting in the red channel and sky information in the blue. Swapping those two channels puts the sky back in the blue-cyan range and pushes foliage into white, gold or magenta depending on the cut-on. In Photoshop this is the Channel Mixer: in the output Red channel set Red 0 / Blue 100, and in the output Blue channel set Blue 0 / Red 100. Green is left alone.
The swap only produces color when there is color to work with. At 720nm there is very little separation left, and at 850nm none at all — those files are monochrome by nature. See how the wavelengths differ.
Step 4 — finishing false color
- Sky: pull saturation slightly and adjust hue toward cyan or blue to taste. Post-swap skies often land somewhere unnatural first.
- Foliage: the difference between the pink and the near-white look is mostly a saturation and luminance decision on one hue band.
- Skin: renders pale and waxy in infrared, with veins showing. It responds better to gentle luminance work than to saturation.
- Noise and detail: infrared files often need less sharpening than expected — foliage is already high contrast against sky.
Black-and-white infrared
With a 720nm or 850nm file, ignore everything above. Set the file to monochrome early, then work the tonal relationship that infrared hands you: white foliage, black sky, dark water. A red-channel-weighted conversion usually gives the cleanest result because most of the signal lives there. The monochrome frames in the archive were made this way on a converted D200 and Z7II.
Affiliate link — disclosure.