
What is infrared photography?
The short answer
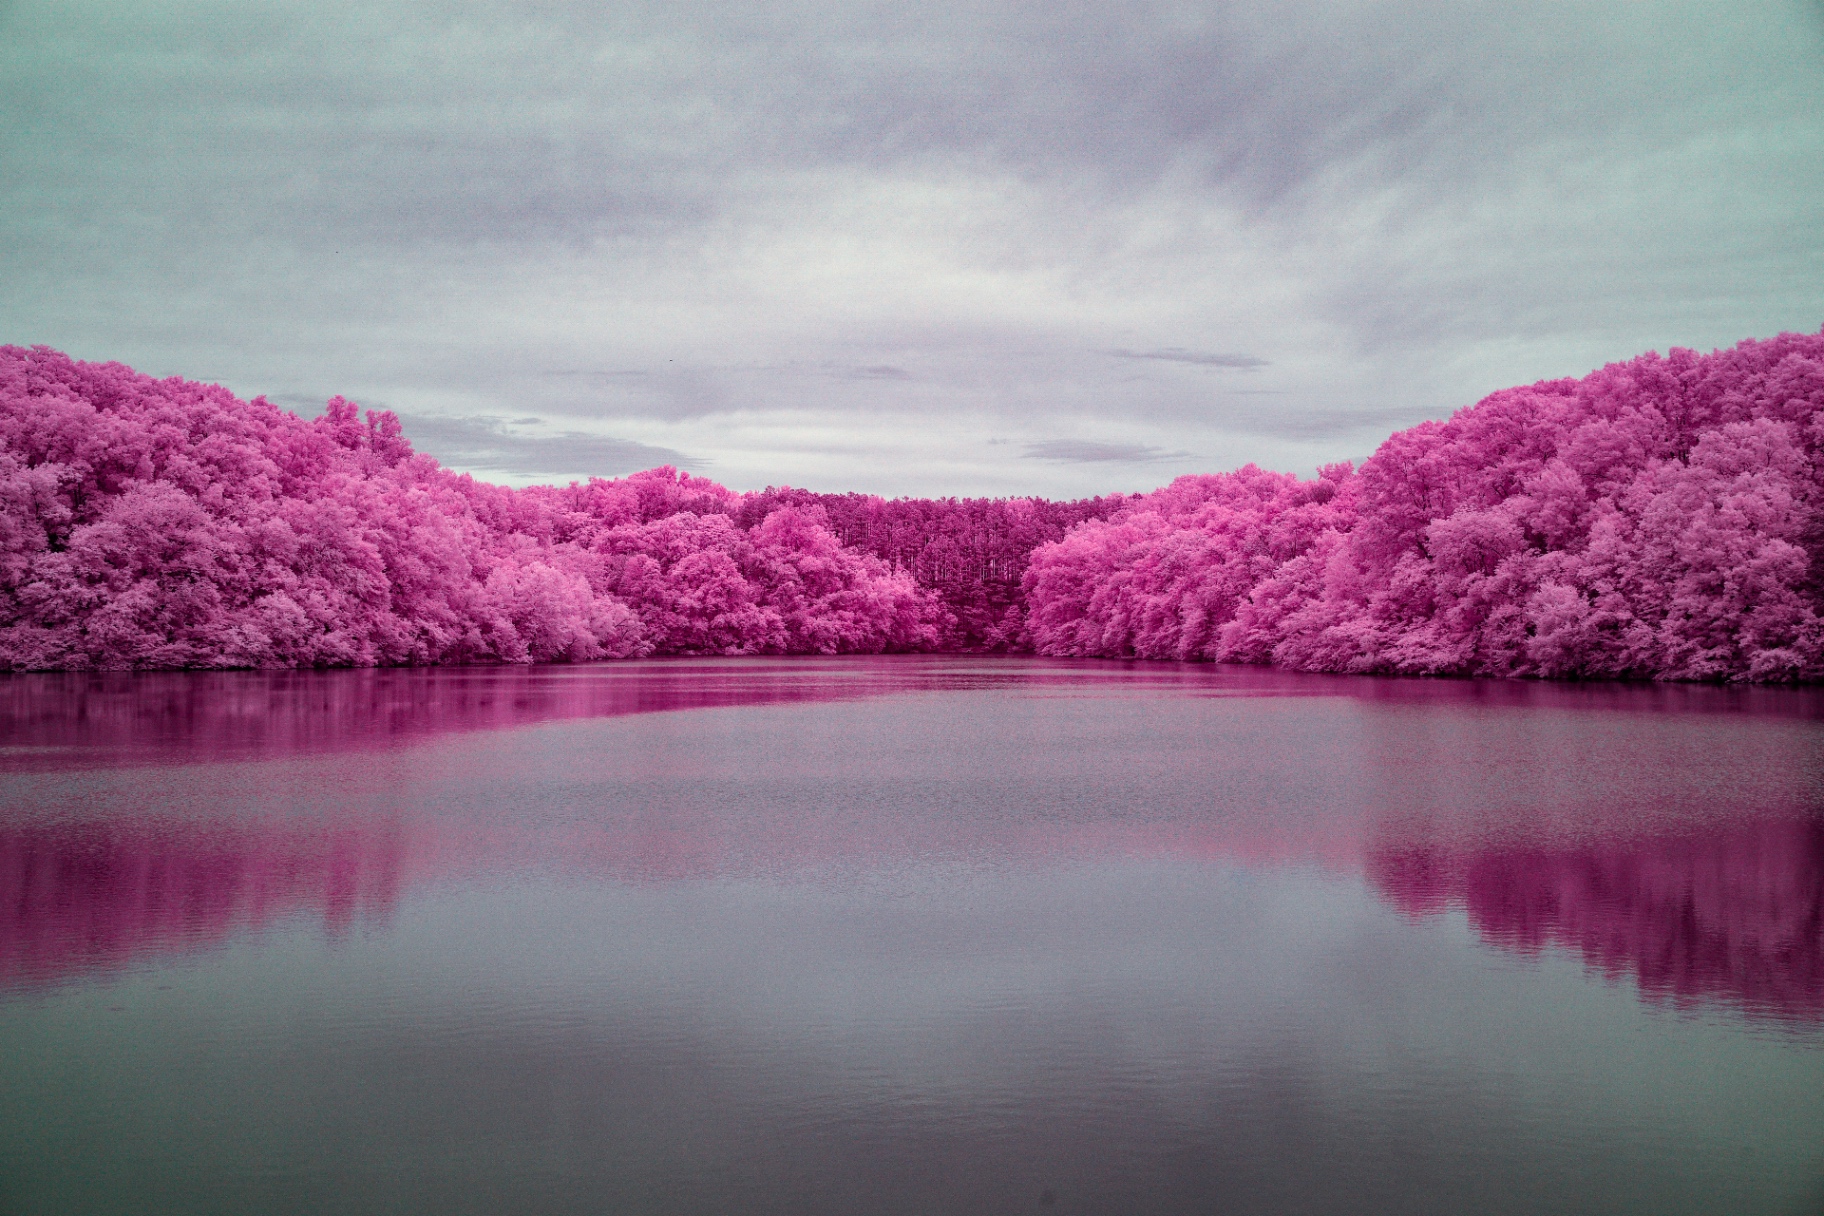
Everything on this page comes from shooting infrared on ten converted bodies — a Nikon D70 at 590nm and 720nm, a D60 at 590nm, a D200, D300 and D40X at 720nm, a D750 at 665nm, a Z7II at 720nm and 850nm, a full-spectrum Z7II used with lens filters, and a full-spectrum Canon 40D. The frames used to illustrate it are my own, and each one is labelled with the camera and wavelength it was made on.
How infrared photography works
A silicon sensor responds to light from roughly 350nm to 1100nm — well past what the eye handles. Manufacturers glue a hot mirror in front of it so colors look normal. Infrared work is the deliberate removal of that restriction, then the deliberate exclusion of visible light with a filter chosen for its cut-on wavelength: the point below which light is blocked.
The famous white-foliage effect is the Wood effect: healthy leaves reflect near-infrared strongly because their internal cell structure scatters it rather than absorbing it the way chlorophyll absorbs visible red and blue. Water absorbs infrared, so rivers and lakes go dark. Blue sky scatters very little infrared, so it goes deep or black. That combination — glowing trees against dark water and dark sky — is the entire visual signature.
Terms worth defining before you go further
- Near-infrared (NIR)
- Light from about 700nm to 1100nm. This is what photographic infrared uses. It is not thermal imaging, which works far further out in the spectrum and needs a completely different sensor.
- Hot mirror
- The internal filter over a stock sensor that blocks infrared. A conversion removes it.
- Cut-on wavelength
- The number on the filter — 590nm, 665nm, 720nm, 850nm. Light shorter than that number is blocked. Lower numbers keep more visible color; compare all four here.
- Full spectrum
- A conversion with clear glass instead of an IR filter, so the body sees ultraviolet, visible and infrared and you choose the look with an external or clip-in filter. Full-spectrum guide.
- False color
- The pink/teal or gold/blue palette you get from lower cut-ons after a red–blue channel swap in post. How that swap is done.
- Hotspot
- A bright, washed-out circle in the center of the frame caused by internal reflections in some lenses under infrared light. Hotspot guide.
What you actually need to start
- A body to convert. An older second body is the usual choice, because the conversion is permanent unless you pay to reverse it. See which cameras suit infrared.
- A wavelength decision. 665nm or 720nm covers most people; the comparison guide walks through the trade-offs.
- A lens that behaves. Some otherwise excellent lenses hotspot badly. Test yours first.
- A raw workflow. Infrared files look wrong until you set a custom white balance and process them — step-by-step here.
Affiliate link — I use Kolari conversions and filters myself; see the affiliate disclosure.